How to Create a Loading Screen for Client-side Fetching in NextJs
Let’s go ahead and assume that you’re familiar with NextJs or ReactJS and CSS Animations

NextJs offers several approaches for getting data from the backend, and client-side fetching is one of them.
Since NextJs uses Server-Side Rendering, all the components are rendered on the server-side, and data is cached on the server-side as well. There are situations where we may require to retrieve data from the client-side, which may include
- when we need to access the session or local storage from the client side.
- when the content of web pages needs to update frequently.
- when we don’t need to pre-render the data.
- when the page doesn’t require SEO indexing (abstracting sensitive data)
Rather than focusing on how NextJs fetches data on the client-side, let’s discuss how to create the loading screen.
Let’s go ahead and assume that you’re familiar with NextJs or ReactJS and CSS Animations.
NextJs supports two approaches to client-side data fetching: useEffect Hook or SWR library. In both cases, we have to show a preloader until our components are being rendered and data is being fetched on the client-side.
Below is an example from NextJs’ docs where client-side data fetching is shown with a preloader displaying “Loading…” within <p> tag.
What we are going to do is, we’ll create a new react functional component with name and extension as LoadingScreen.jsx and write the following code.
The container division of our LoadingScreen component contains five child divisions. We will animate these five divisions using CSS animation.
Now, we’ll style the background of the loading screen using class name of the container div, loading-screen.
It’s time to style all the dots using class name dot as shown below,
Now, we’ll design out pseudo-element for each dot. Each pseudo-element will scale 2.5 times of the actual dot with the help of CSS animation. If you’re having difficulty understanding the CSS defined below you can refer to MDn’s article on CSS Animations.
Until now, the animation is working but there are no colors specified to any dot, thus we can’t even see any dot.
Let’s fill the colors in all the dots with help of n-th child() selector as
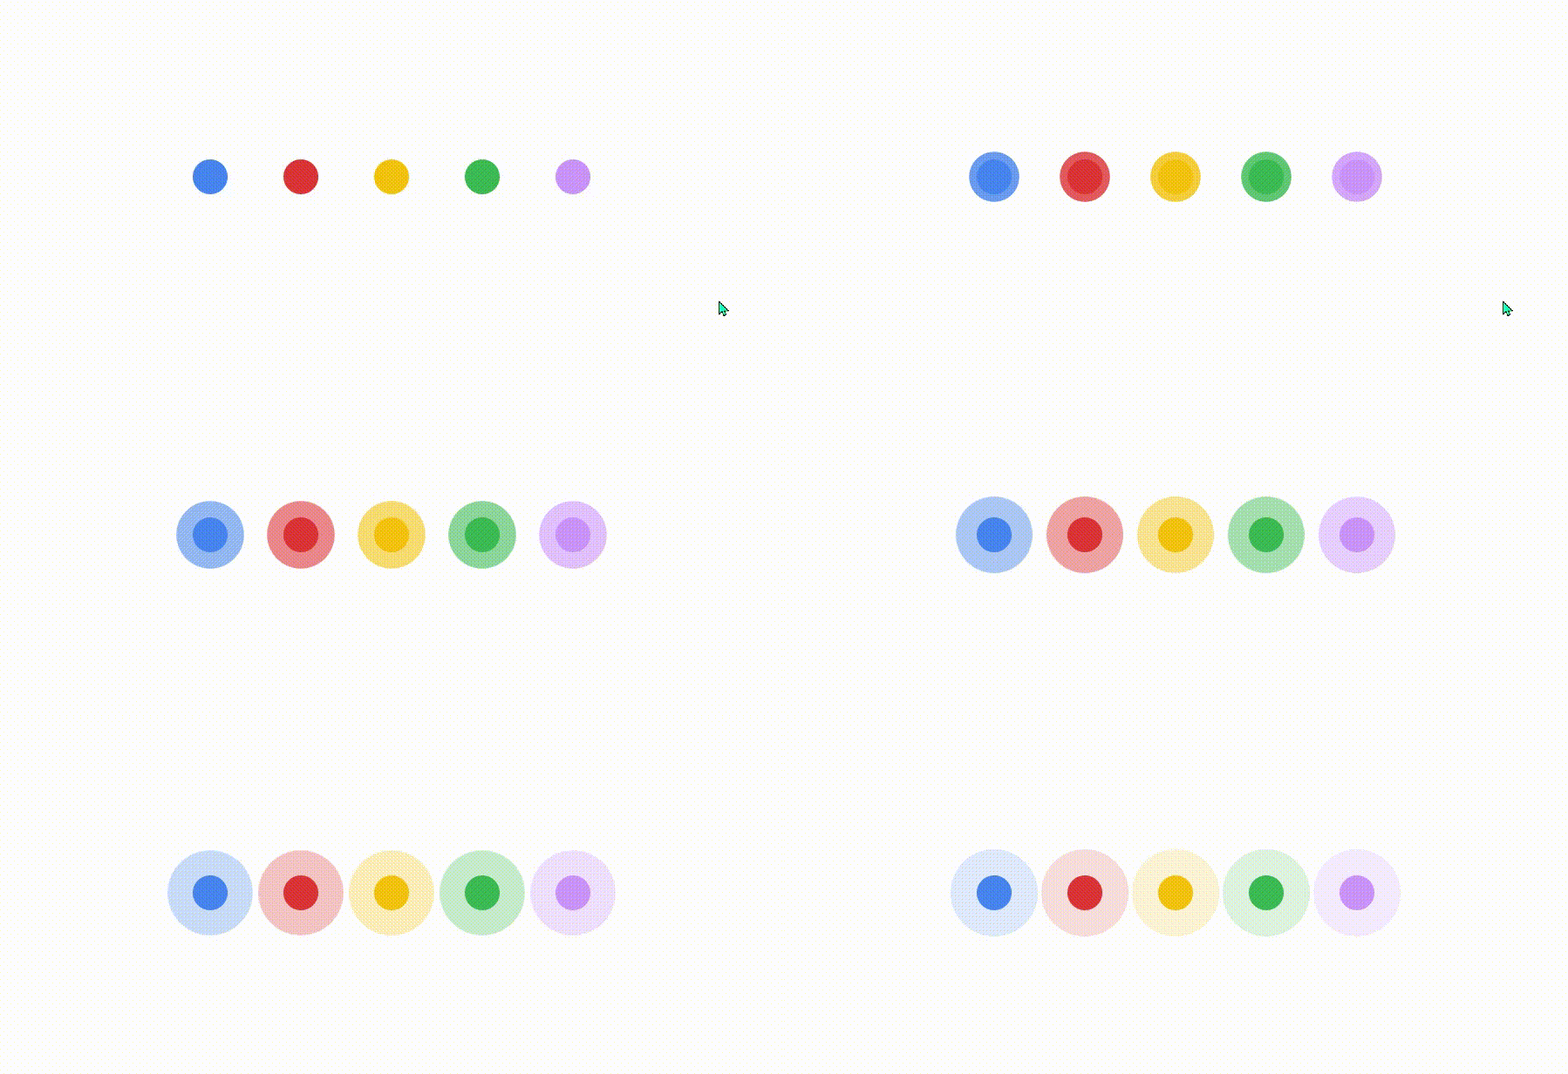
After applying colors to all the dots, you can witness something like this shown below in figure 1.

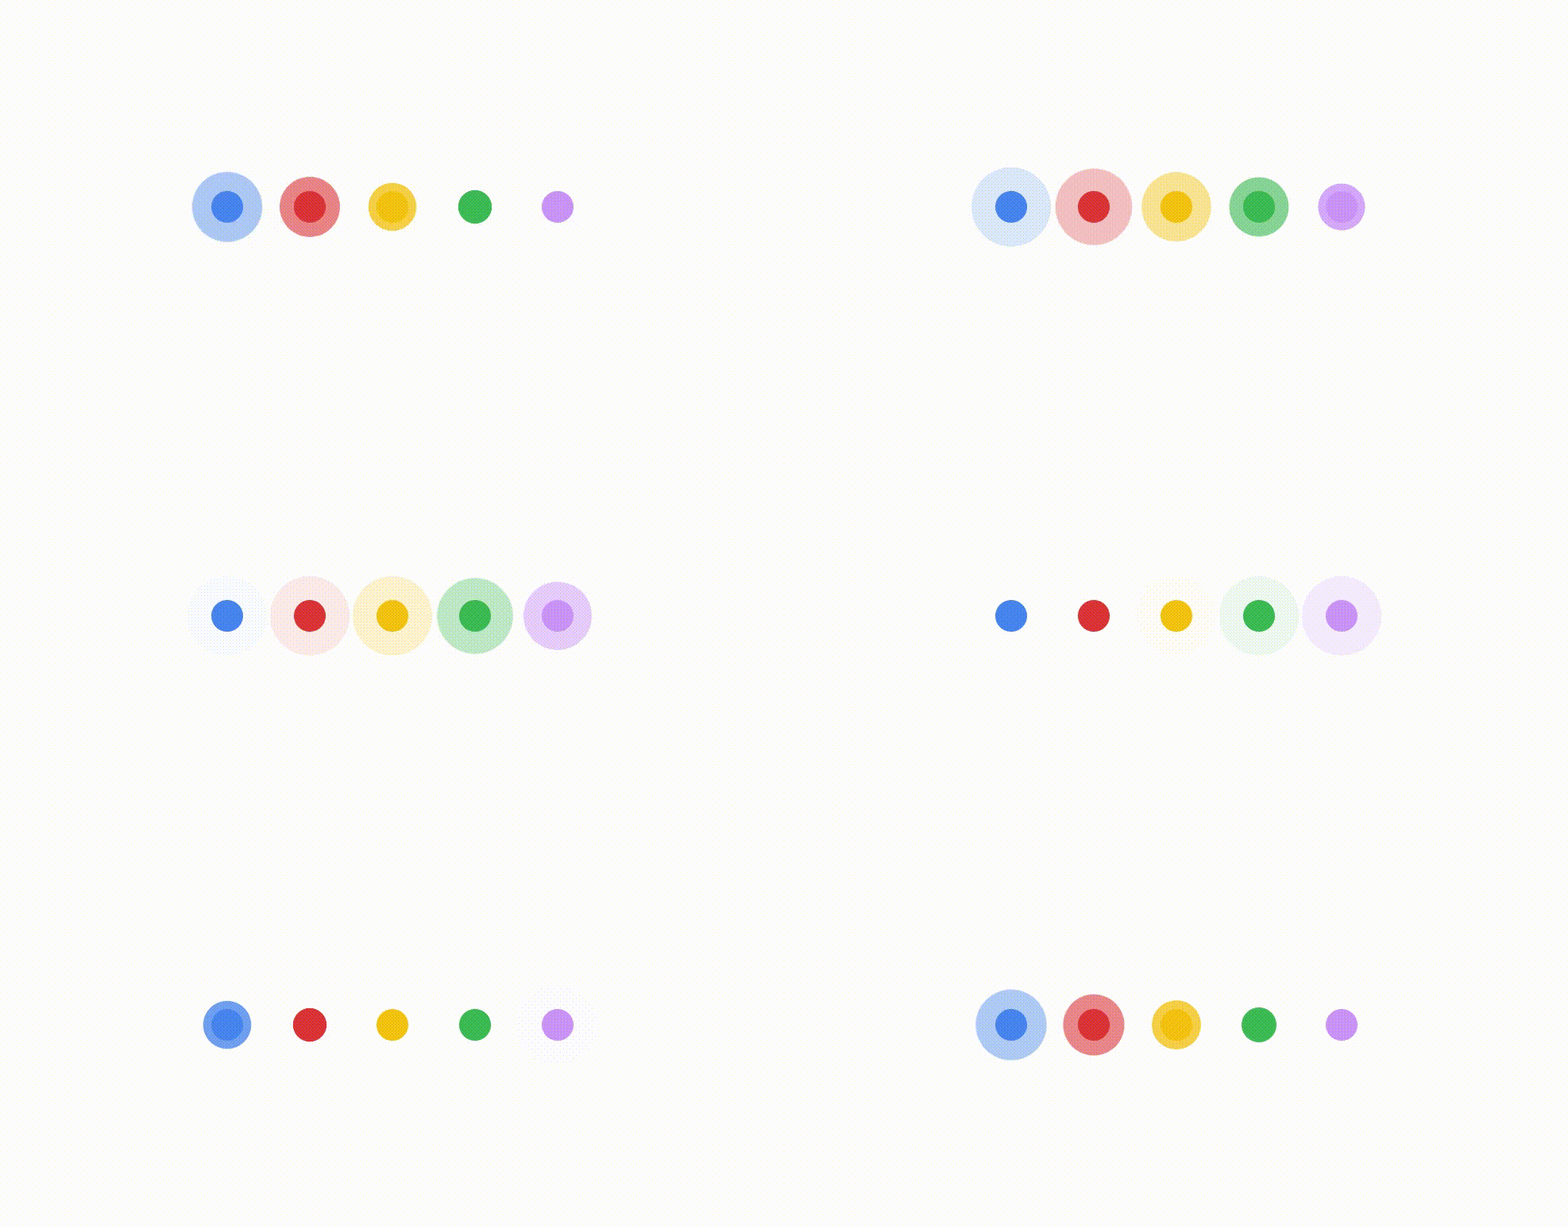
Looks pretty cool, right? but all the dots are animating at the same time which looks blunt to me. Let’s add animation-delay to every dot and synchronize them together.
Let’s add animation delays as
And tada!

Now, you can import and use loading screen component anywhere you want to use just as shown below.
Note:- While importing make to give proper source path and conditional rendering.
In the end, this article was relatively simple, and I’m hopeful that many start using it in the future. It is flexible enough to work with any type of frontend framework as all the work is being done by CSS.

